So it's finally here. After discussing it quite a lot and getting so many ideas (thank you Sailor, Linuxboy, FarmerJD) on the thread '
Need a reliable thermometer' here:
http://cheeseforum.org/forum/index.php/topic,5523.30/topicseen.html I finally put it together this afternoon with a little help from my friends. My friends Lisa and Abe from Sous Vide blog
http://qandabe.com/ dropped by with tools and before I knew it, this thing was up and running.
When I began thinking about a sous vide machine that would not cost $400-$5000, I immediately began to understand the enormous potential it has to make a perfect cheese vat. At first, I did sous vide in the cheese vat and that's where I met Lisa and Abe who inspired me to get a proper digital apparatus of controller and heater in there on the cheap and accurate. I then embarked on finding a form factor that can combine both uses: cheesemaking and sous vide.
Sous what?Sous vide (French for "under vacuum") for those who are not familiar, is a popular and miraculous cooking techniques where stuff gets cooked in vacuum bags in tepid water that are tuned up to a specific target point. Food pasteurizes and then cooks 100% evenly. It can never, ever get overcooked or burned. In fact, it keeps its colors, vitamins and minerals. Moreover, because of the vacuum, 100% of the moisture is kept in. A steak can remain in sous vide for 2 hours or 8 hours; doesn't matter, it will always be perfect medium as long as the water are at 140F. You often see this technique being used by top chefs and in shows like Iron Chef. This machine does what their $5000 immersion circulators do - perfectly. It fits cheesemaking because of its form factor (low and wide - great to cut curd) and its deadly accuracy in low temperatures. Its double boiler configuration prevents milk scalding too!
So what do we need?A pot, double boiler cooking vessel if possible. Heating element. A pump to circulate and even the water temp out around by blowing some air into it (Used in sous vide only - not in cheesemaking), an industrial-grade thermocouple (digital thermometer probe), a PID controller to take temp measurements from the thermocouple and decide based on our settings at what temperature to turn on/off the heating element. We also need a solid state relay to take these commands from the PID controller and do the actual high voltage switching. It is also important that ALL wires and terminals used for these connections, (no exception!), are high-temp insulated and properly rated to at least 25A. Any other wire WILL BURN under the heat of the 1350W element - guaranteed! That's about it for the shopping list.
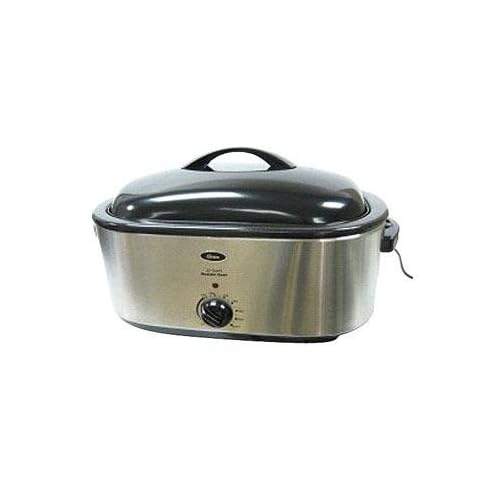
Choosing a VesselI wasn't a fan of immersion heaters in a pot as they would scald the milk. The solution would have been to buy an inner pot to serve as a double boiler but think of the cost and the bulkiness. Immersion heaters and bucket heaters are also notoriously weak and unreliable. After investigating several form factors and vessels, from restaurant food tubs to converting a deep fryer, I had my eureka moment in a suburban department store's after-holiday clearance. An electric turkey roaster! Suddenly the lamest of the suburban white elephants had become the hottest concept since sliced cheese! First of, these things are huge! (18-22 quarts for my small batches is more than plenty). Secondly, it has a removable cookwell that sits inside the heated mother cookwell - say what? Yes! A built-in double boiler! No milk scalding! Third, rather than heating elements on the bottom or submerged elements like immersion heater or like in electric kettles, roasters feature a single continuous heating element that is wrapped like a belt all around the cooking well. The heat comes quickly and evenly from all the sides at once instead of taking its leisurely time from a single spot or the bottom. That means less mixing needed and much faster heating time of the milk (which reduces the pathogen and any bacterial growth during heating and pre-acidification. Fantastic!). The forth reason was the shallow pan instead of a tall pot - this will allow me to easily cut curd horizontally - something I always find impossible with a pot. Just like a big commercial vat. Fifth, the flimsy traditional design and crude construction meant that two screws are all that hold this thing together. Easy to take apart and put together again after surgery. Lastly, at $40; I couldn't resist. Here's the "before" shot...
 Getting it done
Taking apart the cover was easy with 2 screws. There is a big nothing inside.
(PIC 1) Lots of fiber glass insulation, high temp wires with porcelain terminals. One connected directly to one end of the heating element. The other, connects to the thermostat which is then connected to the other end of the heating element. We removed the fiber glass insulation with gloves so that we can perform the "surgery" without getting pricked by that nasty insulation. We then disconnected the wires from their terminals, removed the (very stubborn) thermostat. Passed the wires through the hole where the thermostat used to be. Connected the solid state relay on the appliance's exterior and then connected the PID to it
(PIC 2).
Then, it was time to connect the thermocouple to the PID. Having external thermocouple was the best option if I want to use this for cheese too because mounting a permanent thermocouple inside the vessel would be in the way of stirring and curd cutting .
It was then time to put back the fiberglass insulation
(PIC 3) and close the cover.
For testing purposes, we did not mount the PID and relay in a nice sturdy screwed-on stainless housing quite yet... (will do that next week and post photos here). For now we just taped it to the side of the appliance.
(PIC 4)Filled up with water, we were now ready to test it. Now Abe was ready to do his magic and he programmed the PID to detect the thermocouple and switch the heating element on/off
(PIC 5)We now used a cheap-o aquarium air pump to bubble it up by placing its silicone hose in the water (I may integrate this into the appliance in the future with on/off switch as it must remain off during cheesemaking - but for now it's an optional external accessory). I wrapped the thermocouple to prevent water from going in (will permanently seal it with silicone later this week). and ...voila! Digital Sous vide machine and cheese vat - Done!
(PIC 6) In that last photo it is tuned up to hold temp at 80C and is indicating it is still climbing and is currently at 35.4C. We did metric Celsius system instead of the Fahrenheit


